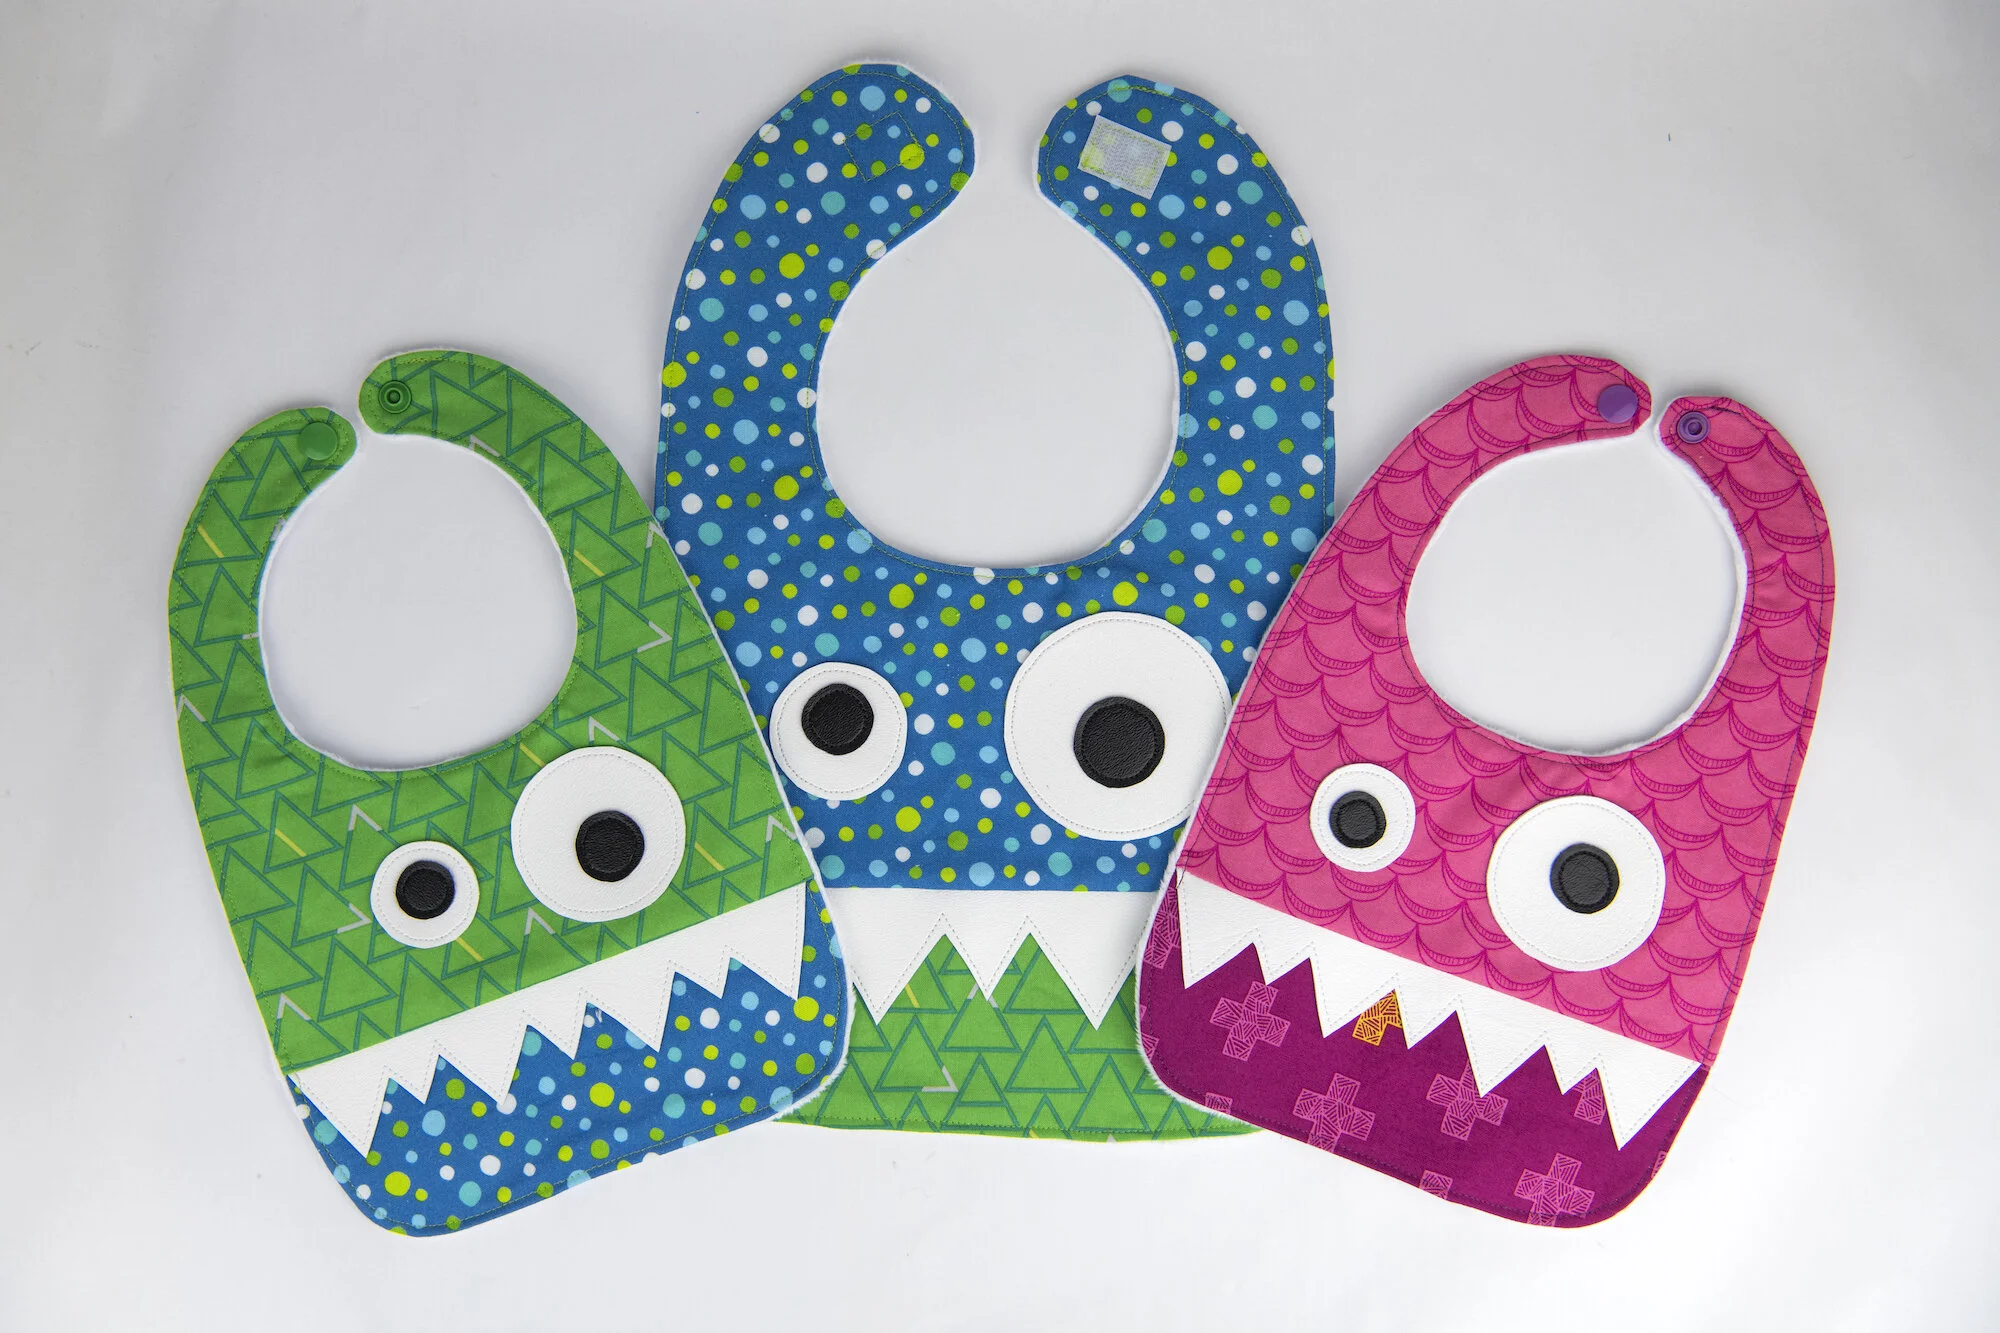
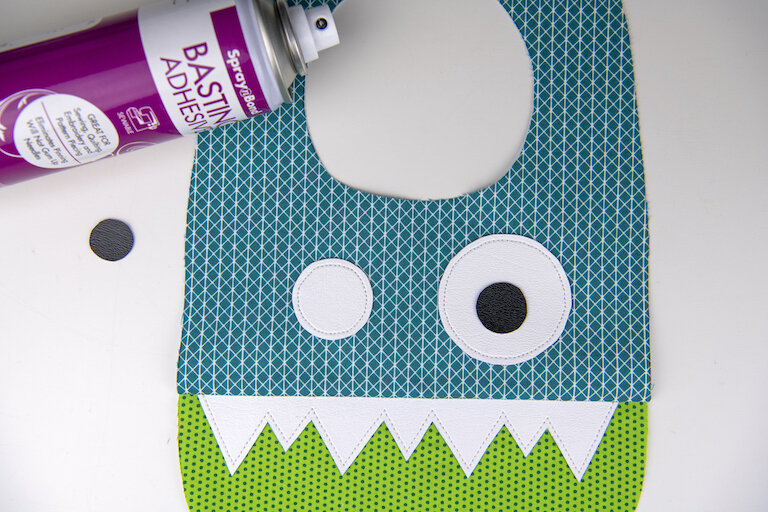
The Original Monster Bib Pattern
Hey friends! I’ve had sooo many fabulous people track me down and ask, Where did the monster bib pattern go?!
Long story short, we tried to move the blog from one host to another and in the process somehow our backup was corrupted. Saddest news ever. Seriously heartbreaking for me. However, in a ray of sunshine, I happened to find another blog that scraped my old monster bib post and created a PDF out of it. I do not recommend doing that but in this instance I am grateful. So I’m just going to borrow that back (and update it) so y’all can make some monster bibs. We (my hubby and I are a pattern making team, I do the drafting/sewing and he does the digitizing) have updated the pattern for you. It now has an infant size as well as a cleaner version of the original full-coverage bib.
Download the infant size here.
Download the full coverage bib here.
We changed the bib to a full-size (no cutting on the fold) pattern piece to make things easier. The updated pattern also has a line for where to line up the top edge of the teeth before tracing and cutting the pattern out. This helps to keep the bib straight.
The infant size is perfect for a 6 to 18 month old baby for a cute everyday going out drool bib. The full coverage works great for a 12 to 2T (or bigger) baby when they are eating spaghetti with red sauce and you want to save their shirt from being wrecked.
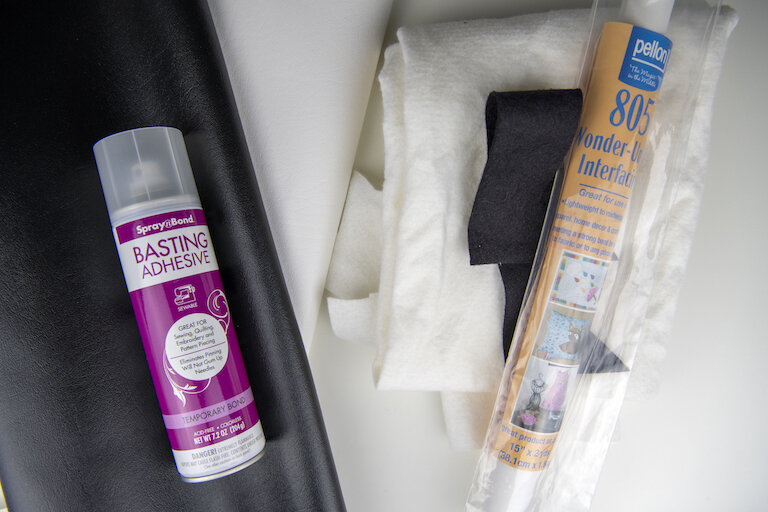
For my personal undated version, I’ve been using vinyl for the eyes and mouth. I really like the look of it. I purchase my vinyl at Joann’s in the fabric section (it’s by the yard and hangs on a big roll by the home decor fabrics). When using vinyl, I just trace my pieces straight onto the back of the vinyl (no Wonder Under) and then use a little Spray n’ Bond to hold the pieces in place before sewing around the perimeter. I also prefer to use SF101 interfacing on the backs of the main bib cotton woven pieces and minky dot for the backing. Just a heads up if you’ve made this pattern before and are confused in the tutorial when things are a bit different.
Also, do not iron directly on vinyl! Use a barrier cloth and low heat. Do not iron directly on minky, either. Just iron around the perimeter of the front of the bib after turning it to flatten it out before top stitching. Make sure to use a barrier cloth if you’ve used vinyl or felt (both will melt).
Ok, let’s get this party started!
Supplies Needed:
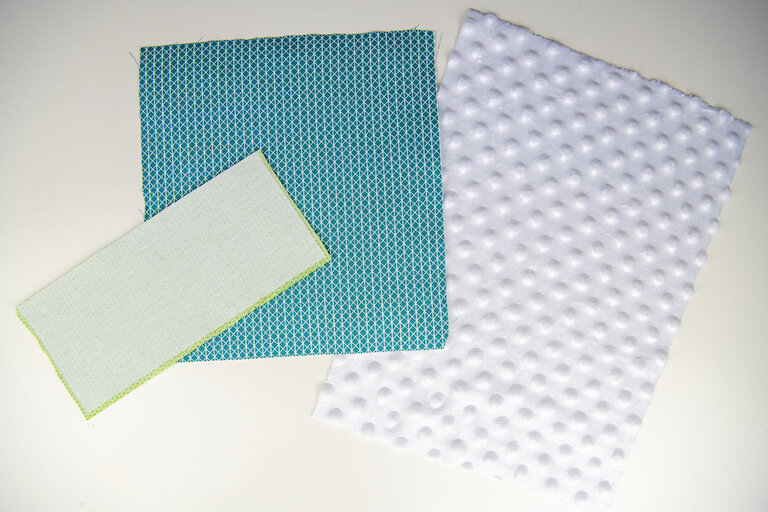
2 coordinating fat quarters
SF101 interfacing (⅓ yard)
Scraps of black and white felt, vinyl, or a thicker woven fabric for eyes, pupils, and teeth
Fabric for backing (flannel, chenille, fleece, minky, etc…)
Wonder Under (if using felt, or woven fabric for eyes and teeth)
Spray ‘n Bond (if using vinyl)
Writing utensil for tracing
Scissors
Thread
Iron/Ironing Board
Sewing Machine
Snaps (here’s what I’m using) or velcro
**All seam allowances are ¼ inch unless otherwise stated.
Download and cut out your pattern pieces. Overlap the top section of the bib with the bottom, lining up the dotted lines and tape together. Iron your fat quarters. Cut out the following:
For the infant bib
Top: 8.5” W x 9.25” H
Bottom: 8.5” W x 3.75” H
For the full coverage bib
Top: 12” W x 10.5” H
Bottom:4” W x 10.5” H
Backing
Infant size: 9” W x 13” H
Full Coverage: 11.5” W x 16” H
Cut out the same size rectangles of interfacing as your top and bottom pieces and iron them to the wrong side of your fabrics following the directions on the package.
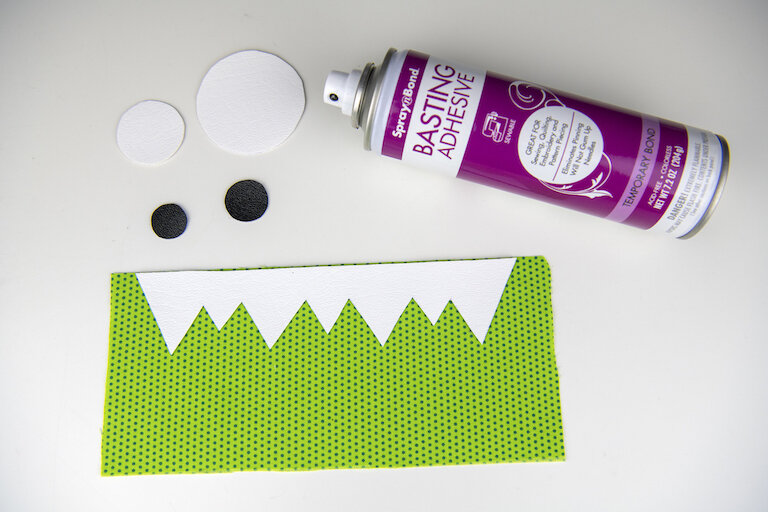
Set aside. Next let’s cut out our eyes and teeth. If using Wonder Under, trace your pieces (both eyes, pupils, and teeth) onto the smooth side of the Wonder Under. Cut out the pieces, leaving a little negative space around each piece. Next, iron the pieces onto the wrong side of your pupil and eye fabrics following the directions on the Wonder Under packaging. If using felt, remember to use a barrier fabric (a scrap piece of cotton fabric) between the iron and your felt to prevent from scorching the felt. Cut out your pieces.
If using vinyl, just trace the pieces onto the back of your vinyl and cut them out.
Ok, let’s get ready to sew. Take your teeth and your bottom bib piece. If using Wonder Under, use a straight pin and lightly scratch the Wonder Under to create a tear. Use that tear as your starting point to rip off the Wonder Under backing paper. This will help prevent any fraying around the edges.
Line the straight edge of your teeth with the long edge of the bottom fabric bib piece and iron it down (Wonder Under) or spray the back with your Spray ‘n Bond (vinyl) and line the edges up before placing your teeth in place, right side up. If using the spray, make sure to use a scrap paper under it to catch all the excess glue.
Take to your sewing machine and top stitch around the perimeter of the teeth. Start at the top edge and backstitch at the beginning and end, or tie off the tails when finished.
Next, grab your main top bib piece. Lay it right side up and line the bottom piece, right side down with the teeth facing the bottom. Using a ¼” seam allowance, sew the two fabrics together just along that one side. Press open.
Now we can cut out our bib. Grab your bib pattern and place over your bib. There’s a bib placement line. Make sure it lines up on both sides with the top edge of your teeth. Also double check your teeth are centered and not to one edge. Trace your pattern (I use my phone to keep the pattern in place) and cut out.
Now we can place the whites of our eyes. Placement is totally a personal preference, just make sure to leave enough space for seam allowance when sewing the backing on later so your eyes don’t get caught in the seam. If using Wonder Under, remember to take the paper off the backs before ironing them in place. With vinyl, you spray the backs with your Spray ‘n Bond and then place them where you like. Sew around the perimeter of each. Do not back-stitch. Start, sew around, and stop at the same point you started. Then pull your thread tails to the back and tie them off.
Repeat with the pupils.
Next, take your backing fabric and place it right side up on your sewing table. Place your finished bib on top, right side down. Pin around the perimeter leaving a 2.5” to 3” opening at the bottom of your bib for turning (I place a horizontal pin to remind me).
Take to your sewing machine and sew around the perimeter of your bib using your ¼” seam allowance. Remember to back stitch at the beginning and end. When finished, trim the excess backing fabric (I prefer to use pinking sheers when doing this step but regular scissors work great, also). I find this method easier than fighting a shifting backing that’s precut.
Turn the bib right side out by pulling it through the opening at the bottom of your bib. Use a chopstick or other blunt tool to get all the corners turned out nice and crisp. Press, using your barrier fabric. When you get to your opening, make sure to fold in the raw edges of your fabric and pin. We will catch those when top-stitching.
Top-stitch around the perimeter of the entire bib. Now all you have left to do is to add a snap or velcro and you’re finished. I’d give step-by-step on this part but there are so many types and styles that all are different. Follow the directions on the package and if they are confusing, Google it and there are a lot of videos for all the different styles.
Thank you so much for sewing along with me today! I love designing patterns, and having others use them makes me so happy. If you share your makes on Instagram, please tag me @stubbornlycrafty or use #scpatterns. I’d love to see what you make!
