Yeti Ornament Pattern & Tutorial
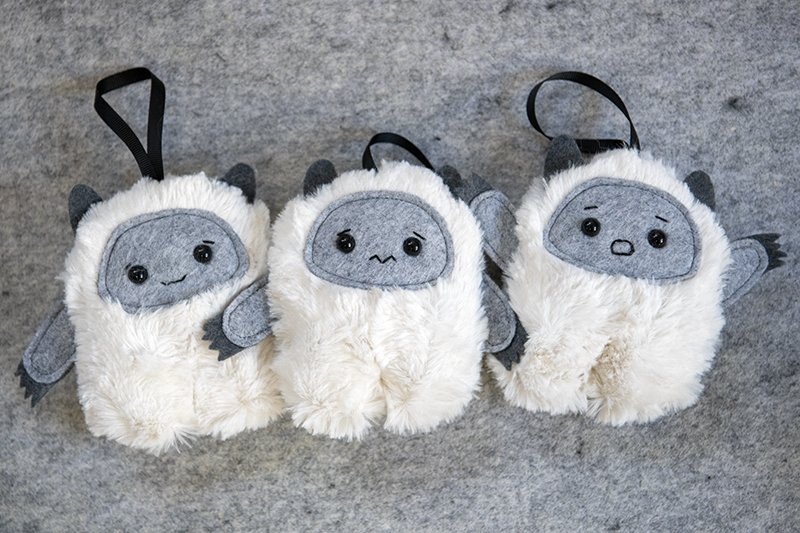
I’ve been making these sweet little yeti ornaments the past couple of years. I’ve had a lot of requests for me to share the pattern and I finally was able to do so. I apologize it didn’t make it out before Christmas but hey, life gets crazy around the holidays. He’s now available for you to download and sew any old time you feel like it. Of course you can leave off the loop for a softie, too. He’s cute with his arms facing up or down and I’ve made him in a lot of different colored felt as well as loads of different facial features. Hope you enjoy.

Supplies:
Pattern (DOWNLOAD AND PRINT HERE)
White minky or short hair fur
Felt (two coordinating colors)
Coordinating embroidery thread and hand sewing needle
Safety eyes (Two 8mm)
Spray n Bond Basting Adhesive or other sewable adhesive
¼” ribbon for hanging
Poly Fil
Cut out your pattern pieces. Trace the pieces on your fabrics. Transfer the placement markings from the body pattern to one side of the body pieces as you trace it. Two body pieces (mirror image) on your fur, two horns and two claws on your darker felt, and one face and four arms (two sets, mirror image) on the lighter felt. Cut them all out.

Take your arms and sandwich the claws between the arms pieces using a bit of Basting Adhesive between each. Take to your sewing machine and top stitch around the perimeter of the arms. You can also use some embroidery floss and hand stitch them if preferred. Set the finished arms aside.
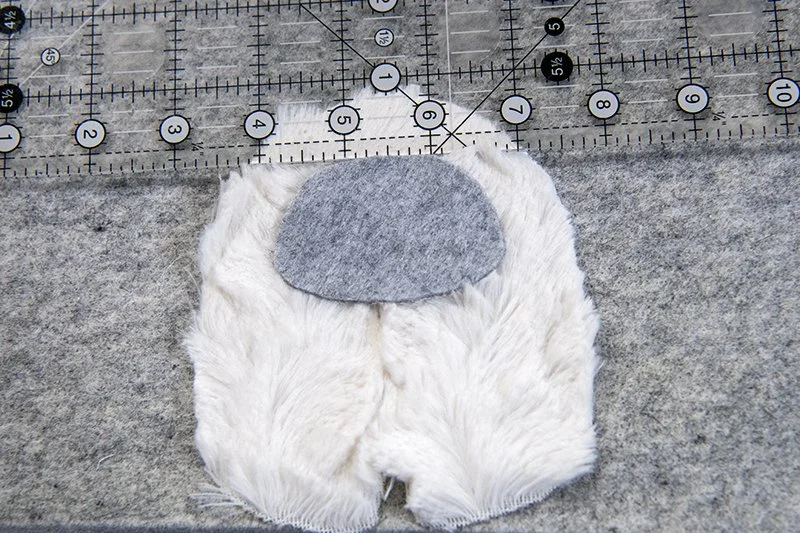
Next use the Basting Adhesive to place your face on one side of the body approximately ¾” down from the top. Top stitch around the perimeter to keep in place. Pull the tail ends to the back and tie off instead of backstitching to keep a cleaner look.

Find the eye placement and insert the safety eyes following the directions on the package (poke a hole, stitch the front of the eye on, and then attach the back to keep it in place). I like to poke out the holes on the pattern piece so I can use it to help get the placement just right.

Now grab your embroidery floss and sewing needle. I like to add eyebrows and a mouth but you can add whatever facial features you’d like. Tie a knot in one end of your embroidery floss and start from the back of your yeti’s face. Add the facial features and then tie the floss off in the back.

Next grab your horns and arms. Using your body pattern, find the placement for each. The lines are where the top of the horn and arms hit. Place them each in towards the body and pin in place. Overlay them just a bit so they hang over the body slightly to make it easier to catch them when sewing the back to the front. Tack in place with your sewing machine.

Cut a 7” piece of ribbon. Loop it and tack in place centered at the top of your yeti body with the loop facing down and the raw edges on top.

Pin the front body piece to the back, right sides together. As you can see I use a ton of pins. The fur definitely likes to shift on you. Sew around the perimeter using between an ⅛” and ¼” seam allowance (I know that’s a small seam allowance! I made this pattern for my own personal use only and wasn’t planning on sharing it. I found the smaller seam allowance the easiest when turning and to keep the shape from warping). Leave a small opening under one arm for turning.

Turn right side out. Stuff with poly fil and sew the opening closed.

And that’s it. I hope you found this a quick and easy sew! If you make one and post it on instagram please tag me (@stubbornlycrafty) or #scpatterns so I can see your creation. Nothing makes my day more fabulous!